How to use Google Docs to create slides with different layouts
Jun 30, 2025
Table of contents
The Title slide is the layout of the first and only slide you see when you create a new Google Slides presentation.
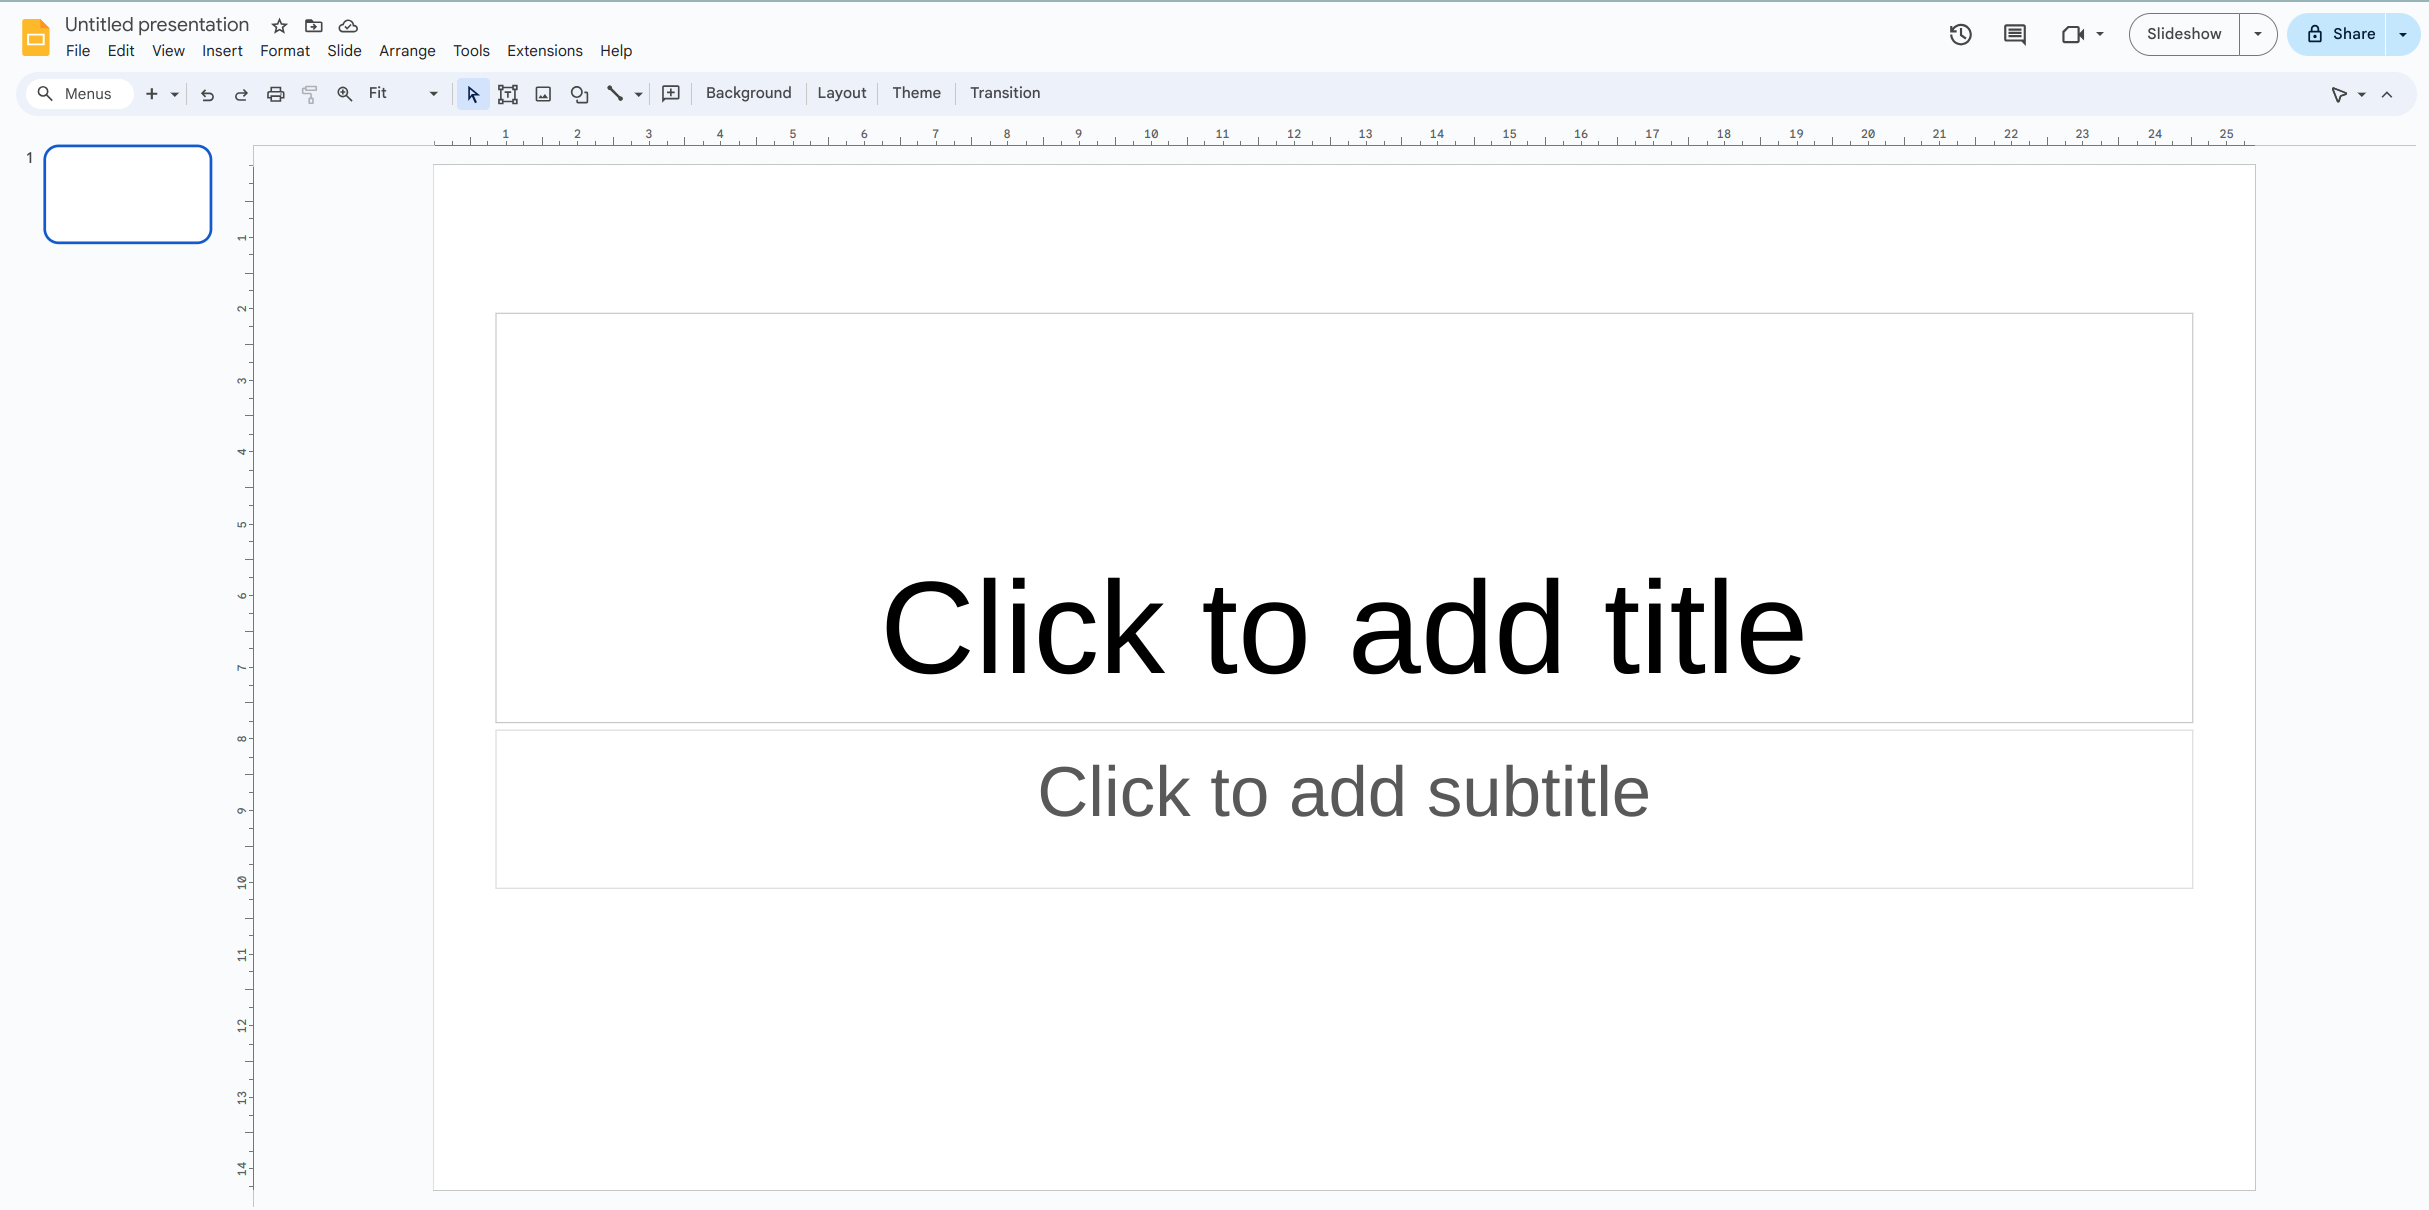
It typically contains Title and Subtitle placeholders.
Insert a Title paragraph via the toolbar.

To include the subtitle, add text immediately underneath the Title with the Subtitle paragraph style using the toolbar.

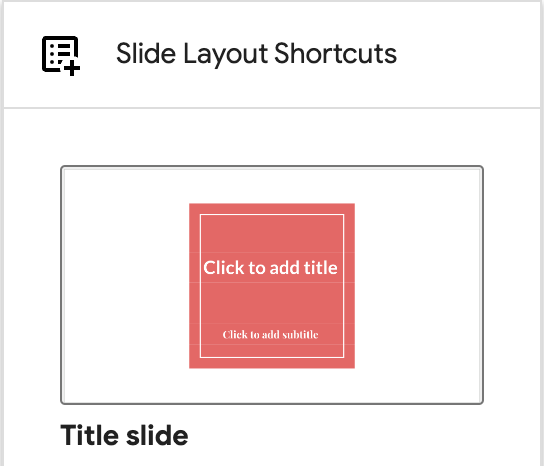
You can also use our Title slide layout shortcut to add a Title slide.
Slides Generator supports generating multiple presentations from a single Google Doc.
When it sees a paragraph with Title paragraph style, it puts content thereafter into a separate presentation.
The Title and body layout is another common layout used for slides with title and body text. Body text could be bulleted or numbered lists or just text.
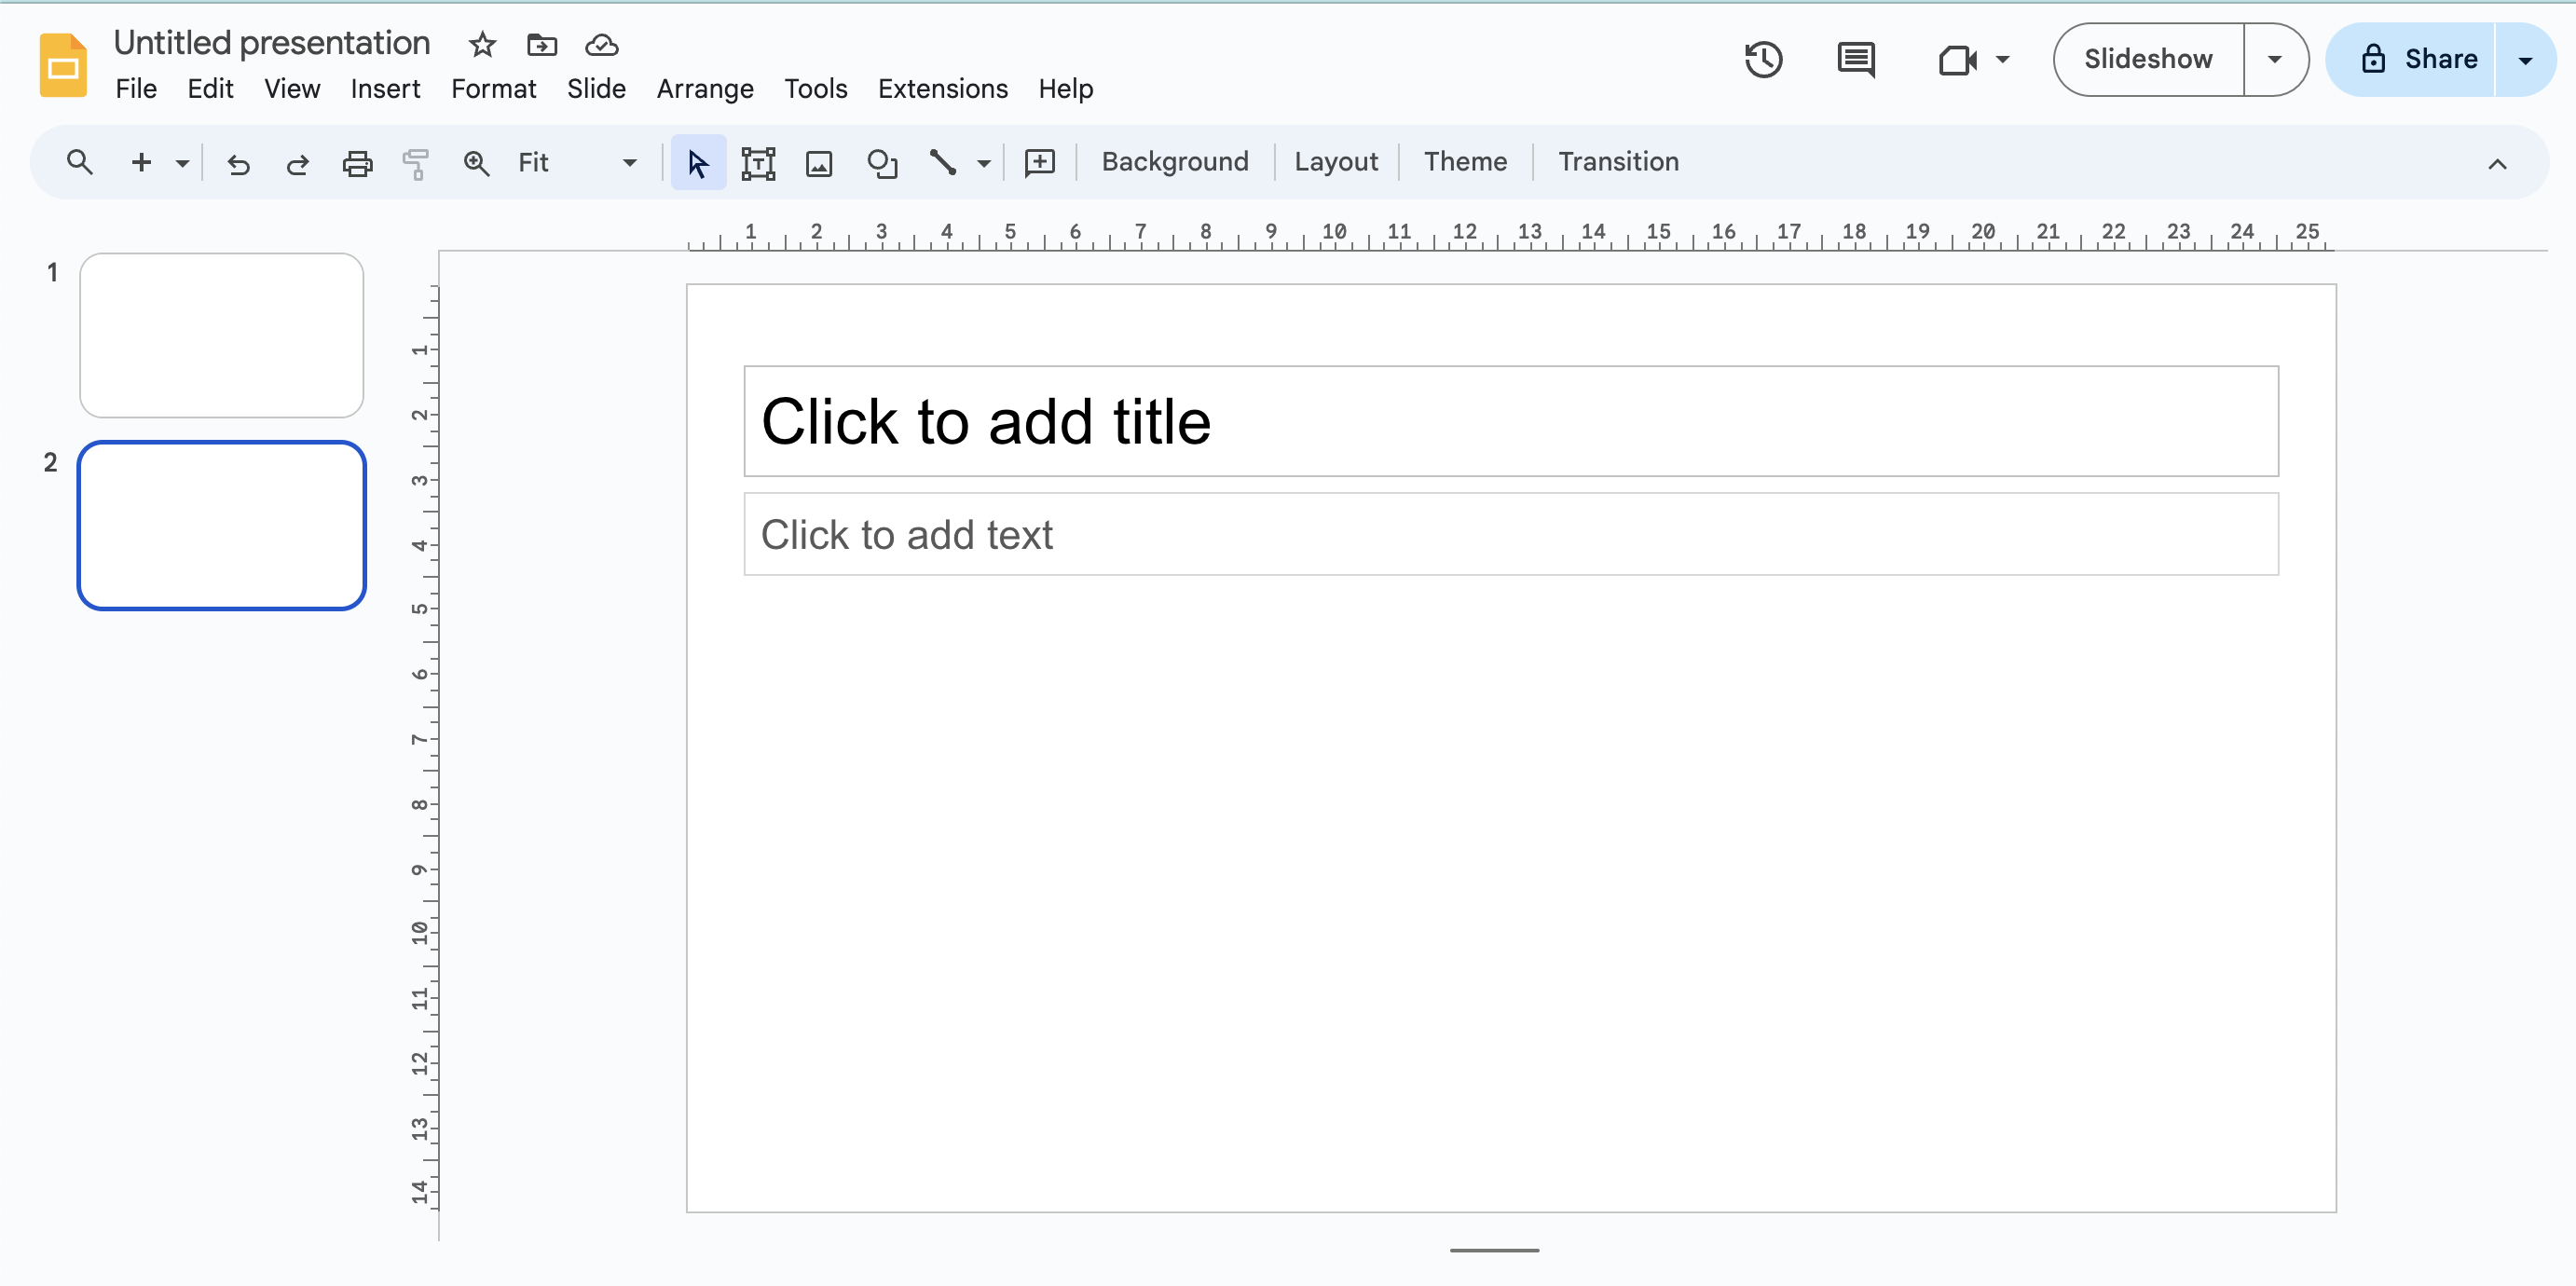
First, insert a Heading paragraph with a blank line before and after. You can do so via the toolbar or using the shortcut CTRL+ALT+1, CTRL+ALT+2 or CTRL+ALT+3, depending on the heading you want.
Immediately after the heading, add your text.

You can also use our Title and body slide layout shortcut.
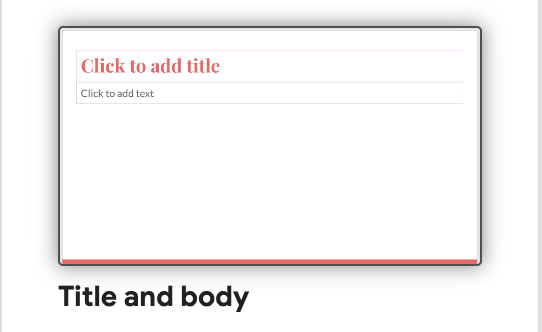
Main point slides are used to make a single point or provide a key takeaway.

Google Slides provides a built-in Main point slide layout that you can select when adding a new slide.
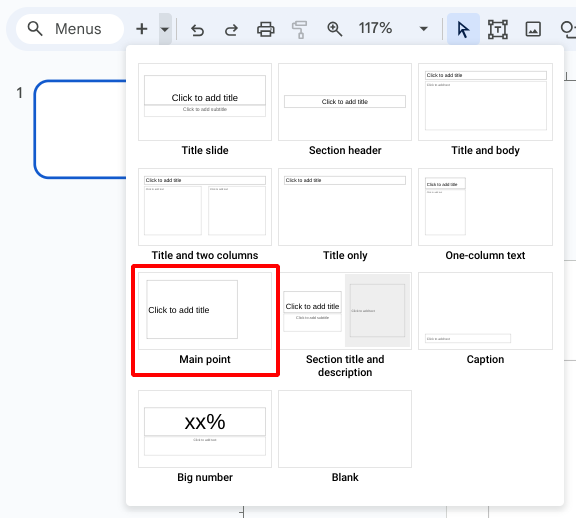
To add a Main point slide via Google Docs, insert a Normal text paragraph with a blank line before and after. You can do so via the toolbar or using the shortcut CTRL+ALT+0

You can also use our Main point slide layout shortcut.
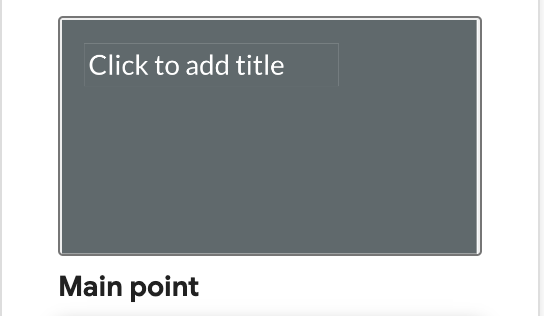
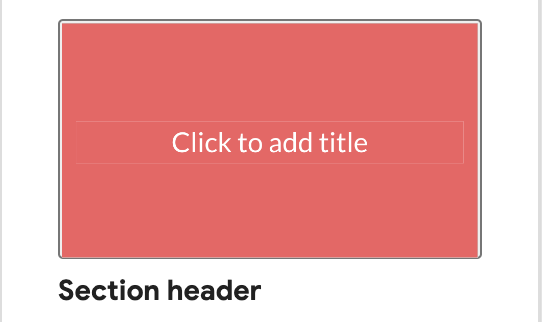
Section header slides serve to divide your presentation into distinct sections. They typically include a title to introduce the beginning of a new section of the presentation.
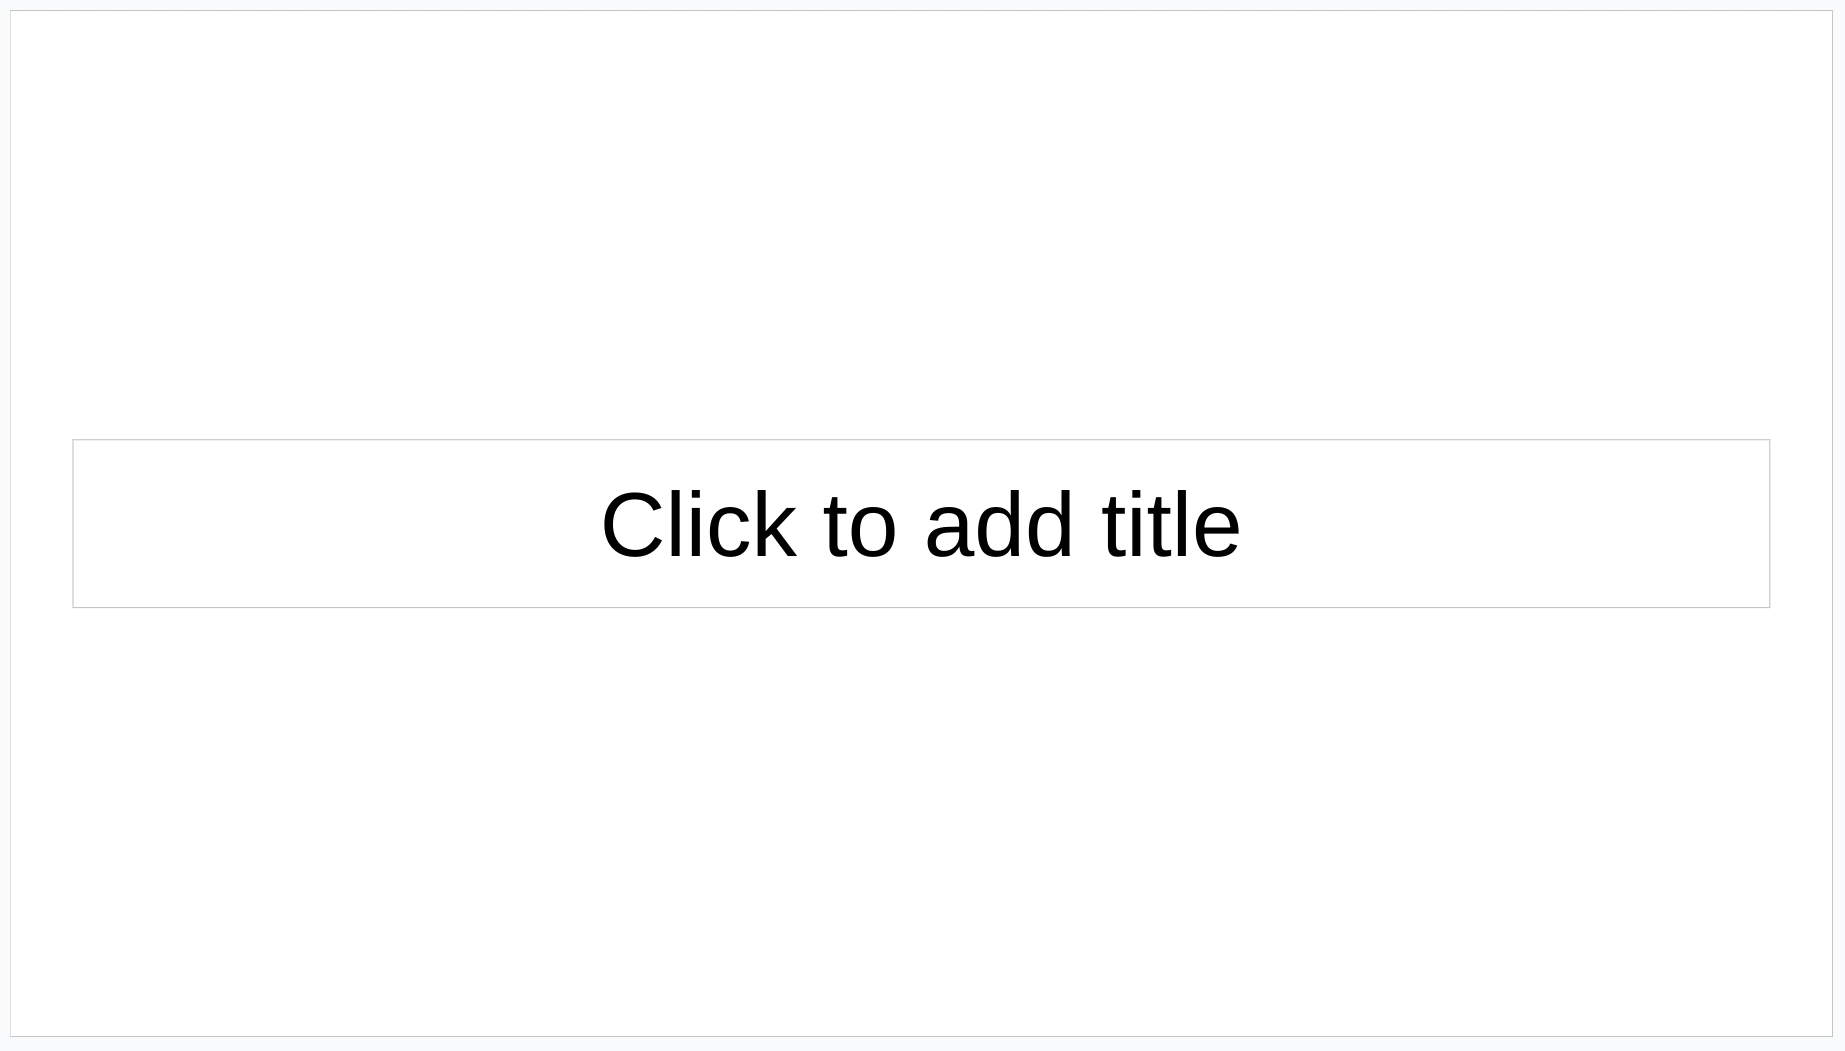
Google Slides provides a built-in Section header slide layout that you can select when adding a new slide.
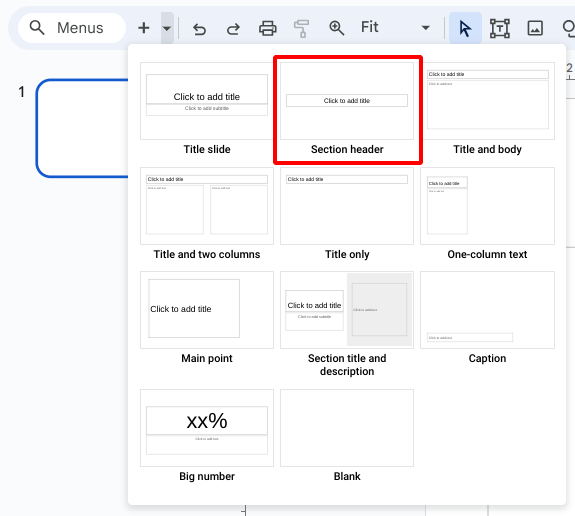
Insert a Heading paragraph with a blank line before and after. You can do so via the toolbar or using the shortcut CTRL+ALT+1, CTRL+ALT+2 or CTRL+ALT+3, depending on the heading you want.
You can also use our Section header slide layout shortcut.
Slides Generator transfers inline images from Google Docs to Google Slides. It adds the image to an available image placeholder.
We currently support 4 different image slide layouts. Each of these layouts contains one image.
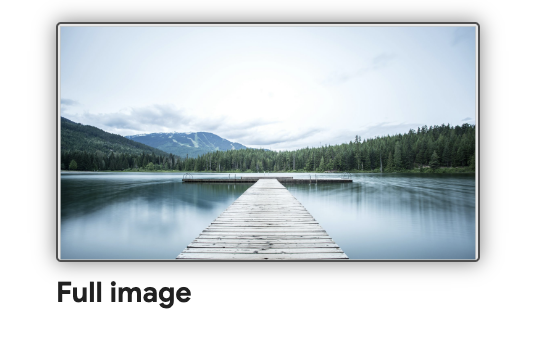
In this layout, the image occupies the entire slide, using all available space.

To achieve this layout, add an image and a blank line both above and below it.

You can also use our Full image slide layout shortcut.
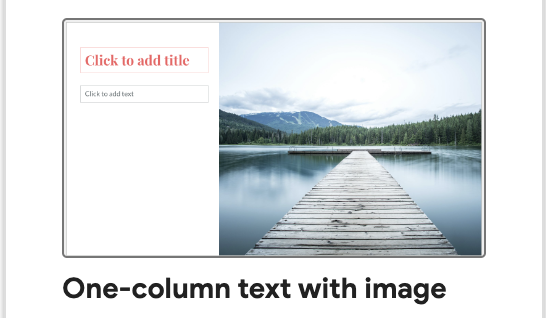
This uses the One-column text slide layout built-in to Google Slides, adding the image in the available space next to the text.
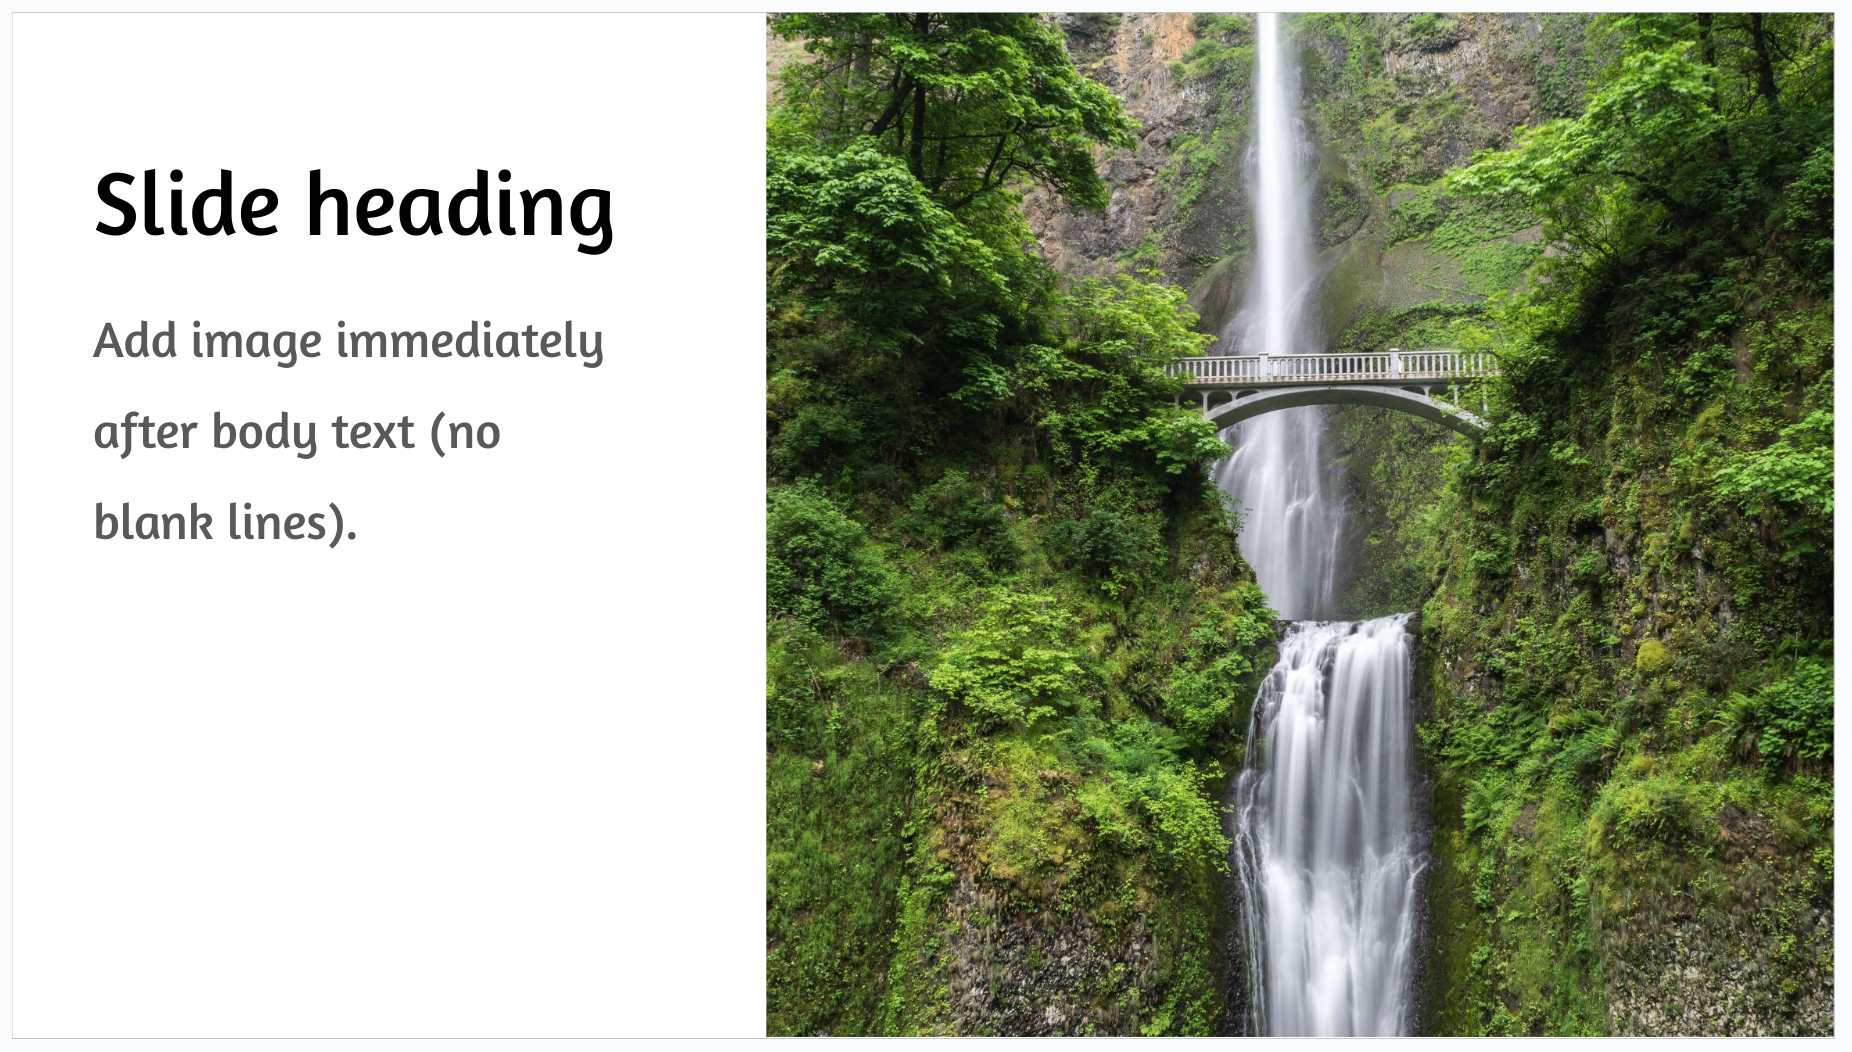
To achieve this layout, add an image immediately after a block of text. The slide heading is optional.
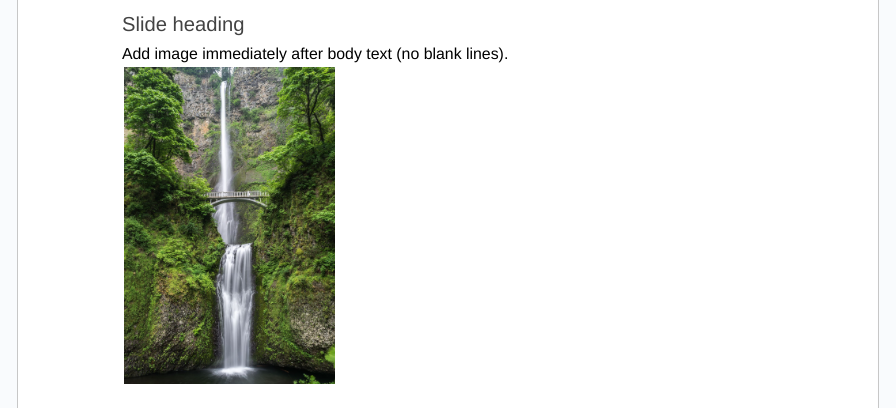
You can also use our One-column text with image slide layout shortcut.
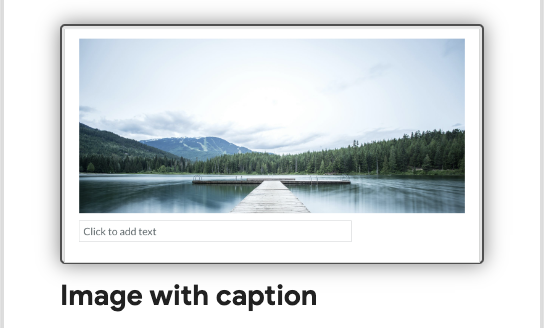
This uses the Caption slide layout built-in to Google Slides, adding the image just above the caption.

To achieve this layout, add an image followed immediately by a single short line of text.
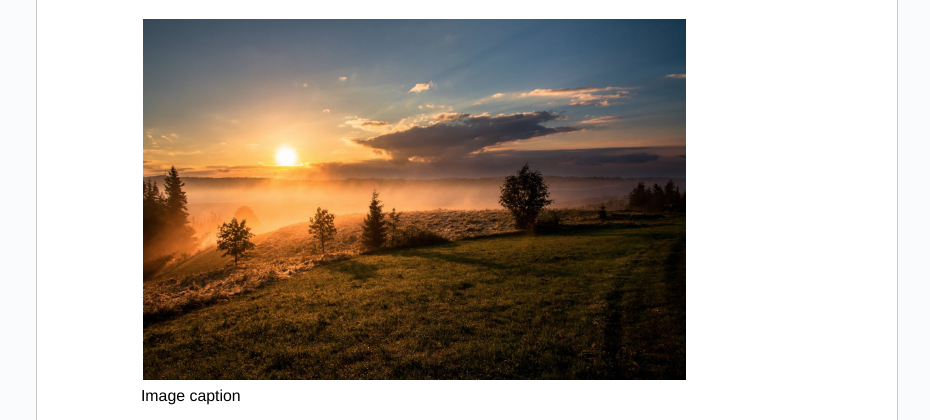
You can also use our Image with caption slide layout shortcut.
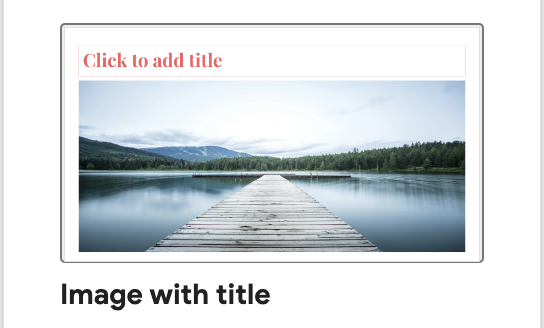
This uses the Title only slide layout built-in to Google Slides, adding the image in the available space below the slide heading.
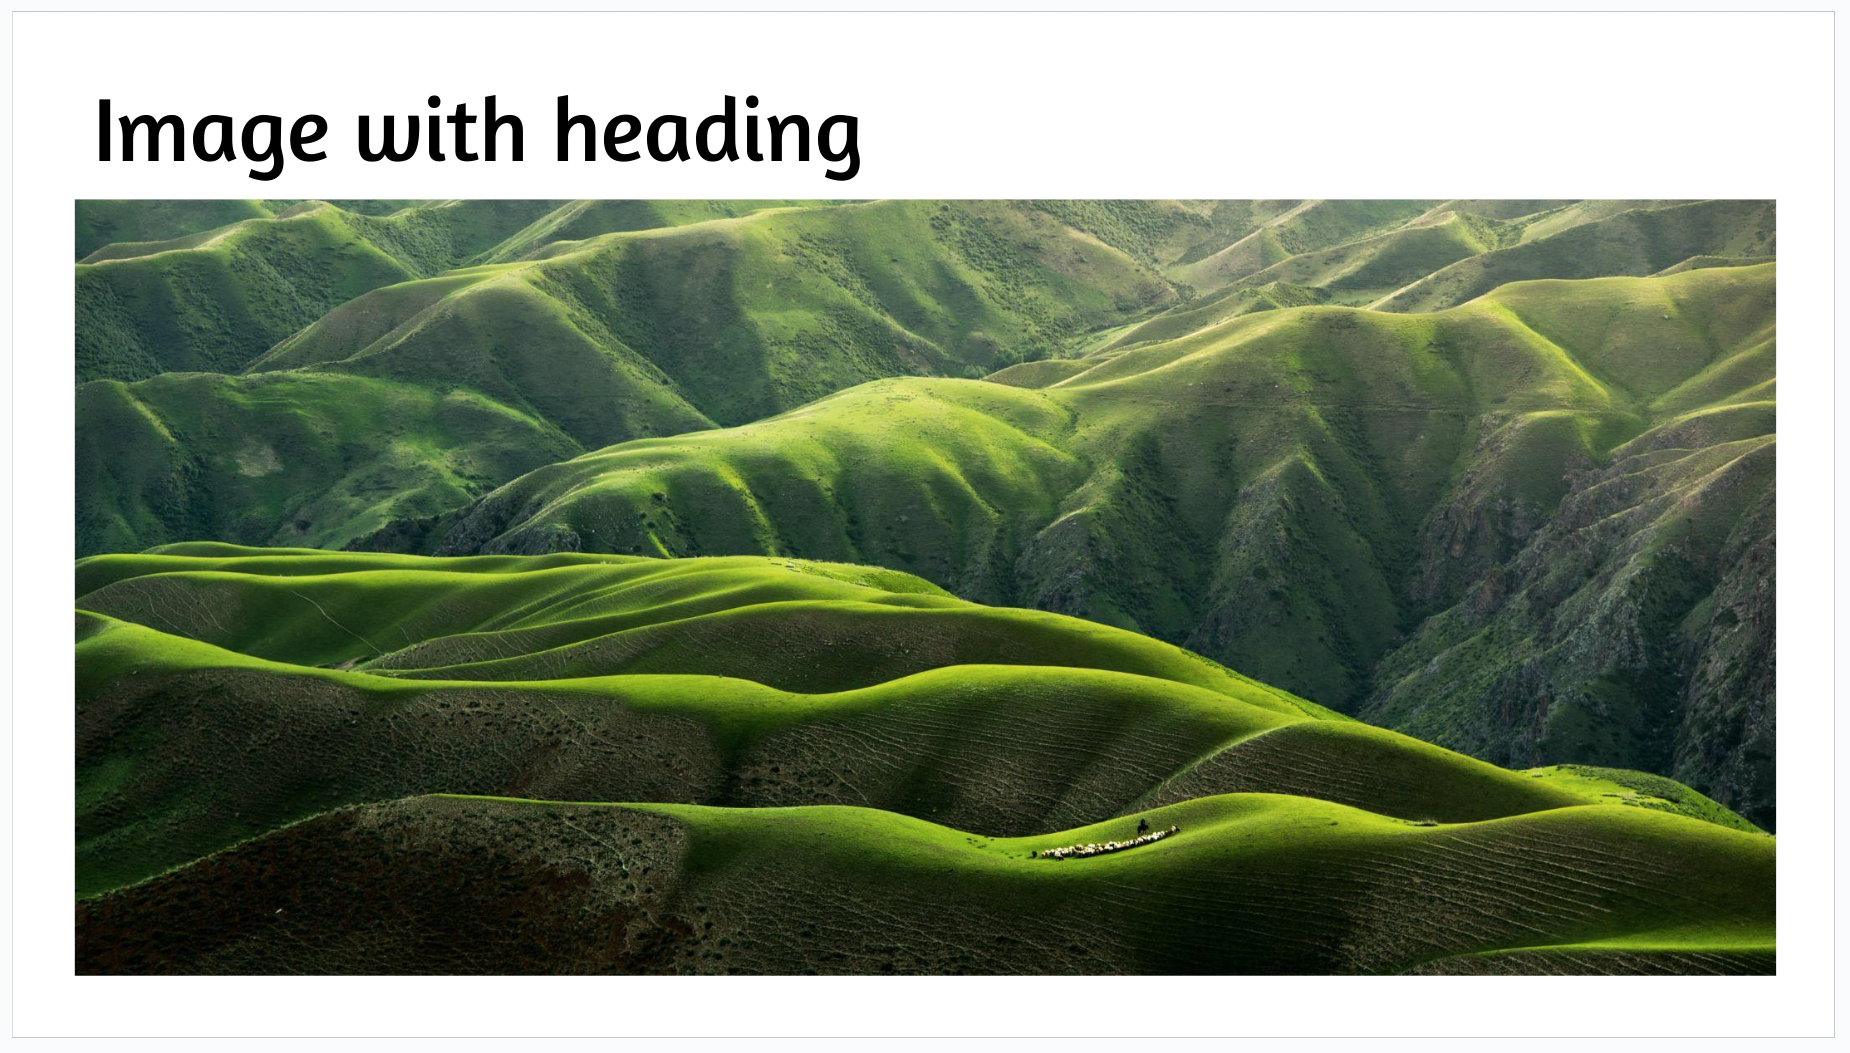
To achieve this layout, add an image immediately below a slide heading.
You can also use our Image with title slide layout shortcut.
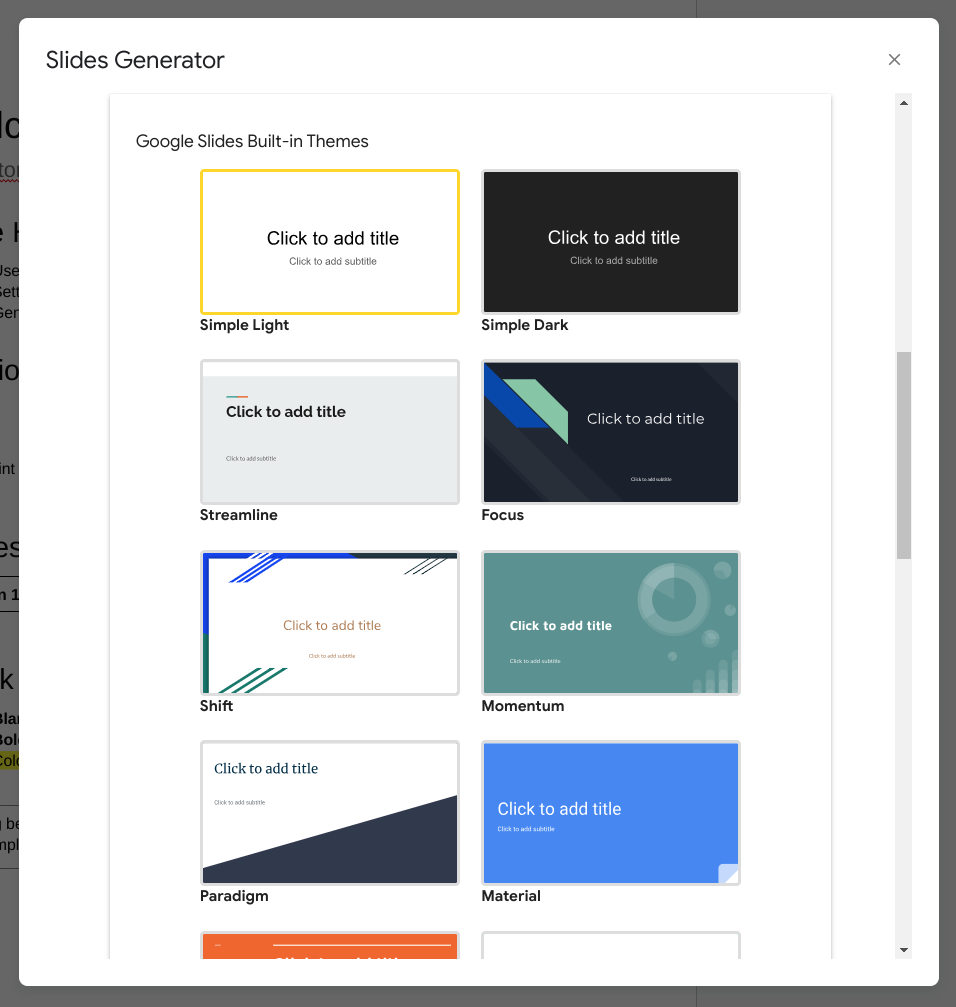
Google Slides provides several built-in themes that enhance the appearance of your presentations.
However, the configuration of each theme's layouts slightly differs from one another which makes image placement problematic when changing from one theme to another.
For example, this is what the One-column text Layout looks like on the built-in Shift theme.
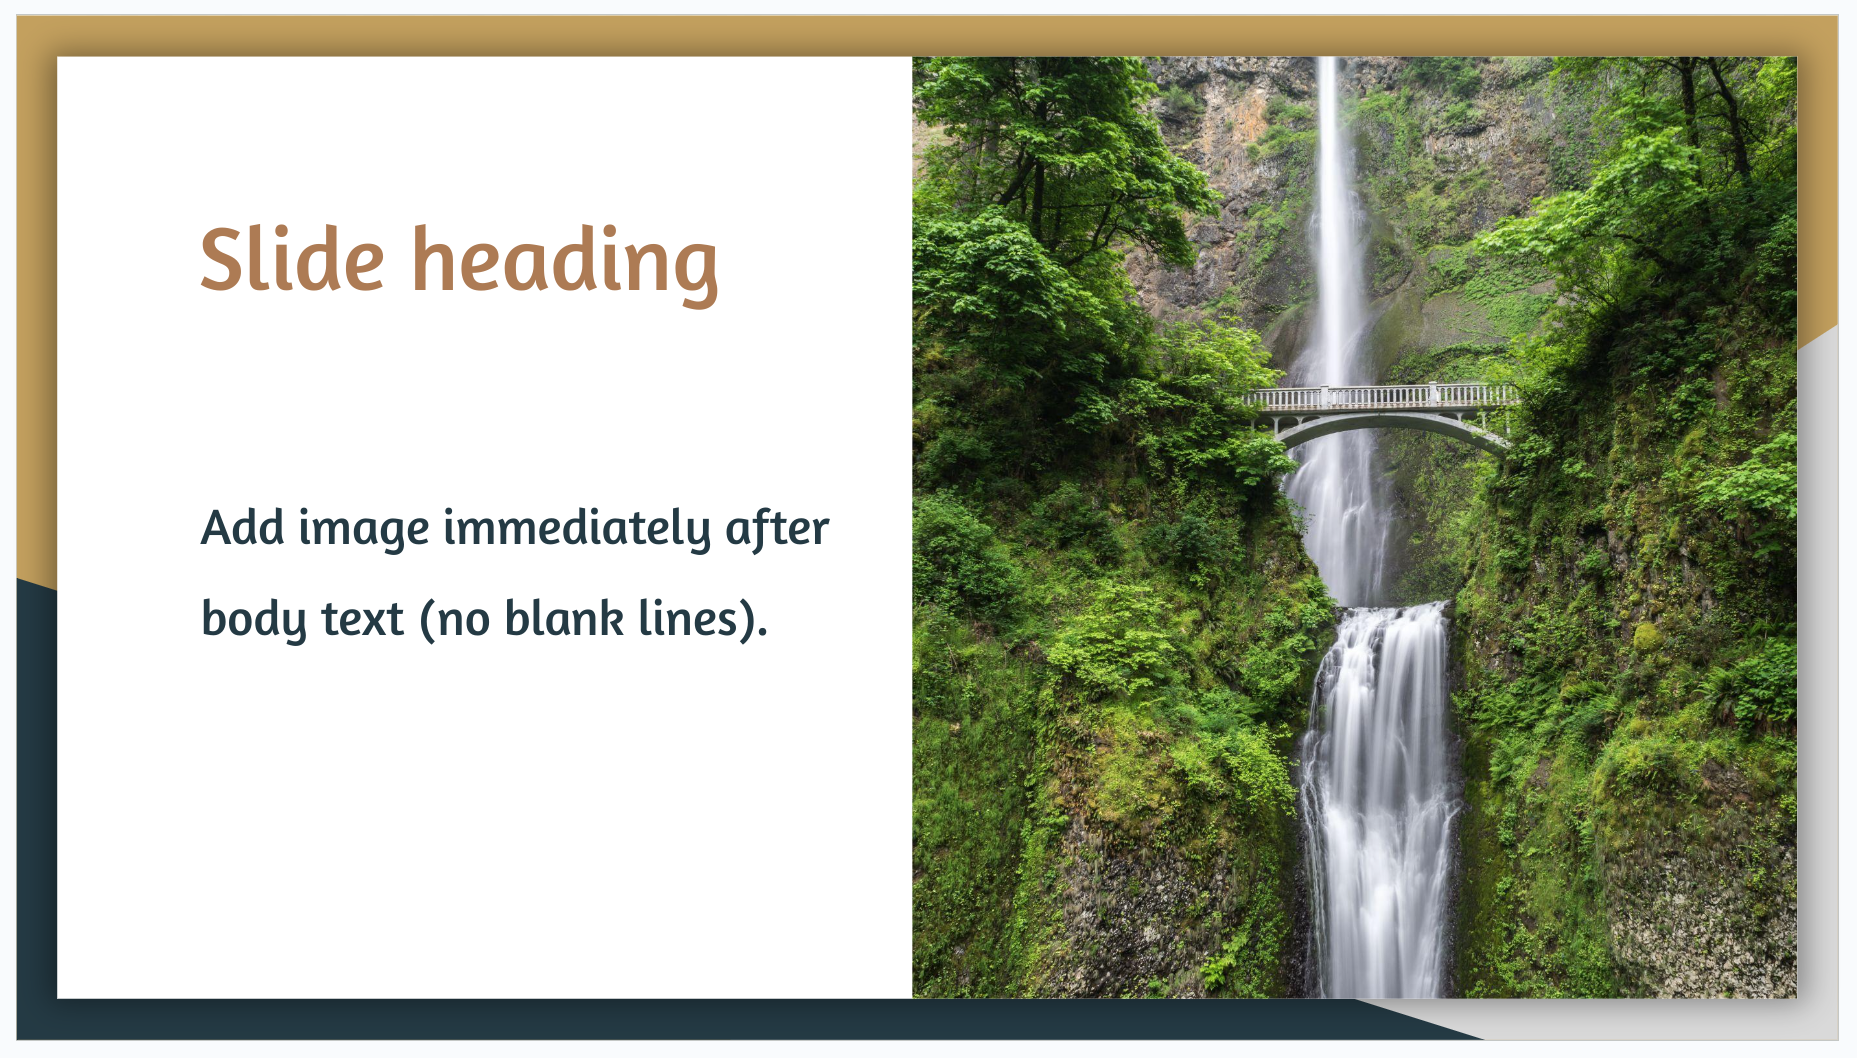
Fortunately, Slides Generator takes care of this problem by allowing up-front theme selection before generating slides. This allows images to be correctly placed in any of Google Slides' built-in themes.
Slides Generator transforms YouTube video links in Google Docs into video slides.
At the moment, only YouTube video links are supported.
We currently support 2 different video slide layouts. Each of these layouts contains one video.
In this layout, the video occupies the entire slide, using all available space.

To achieve this layout, add a YouTube video link to the Google Doc and a blank line both above and below it.

You can also use our Full video slide layout shortcut.

This uses the Title and body slide layout built-in to Google Slides, adding the video in the body section of the slide below the heading.

To achieve this layout, add a YouTube video link immediately below a slide heading.

You can also use our Video with title slide layout shortcut.

Google Slides provides several built-in themes that enhance the appearance of your presentations.
However, the configuration of each theme's layouts slightly differs from one another which makes video placement problematic when changing from one theme to another.
For example, this is what the Title and body Layout looks like on the built-in Shift theme with a video included in it.
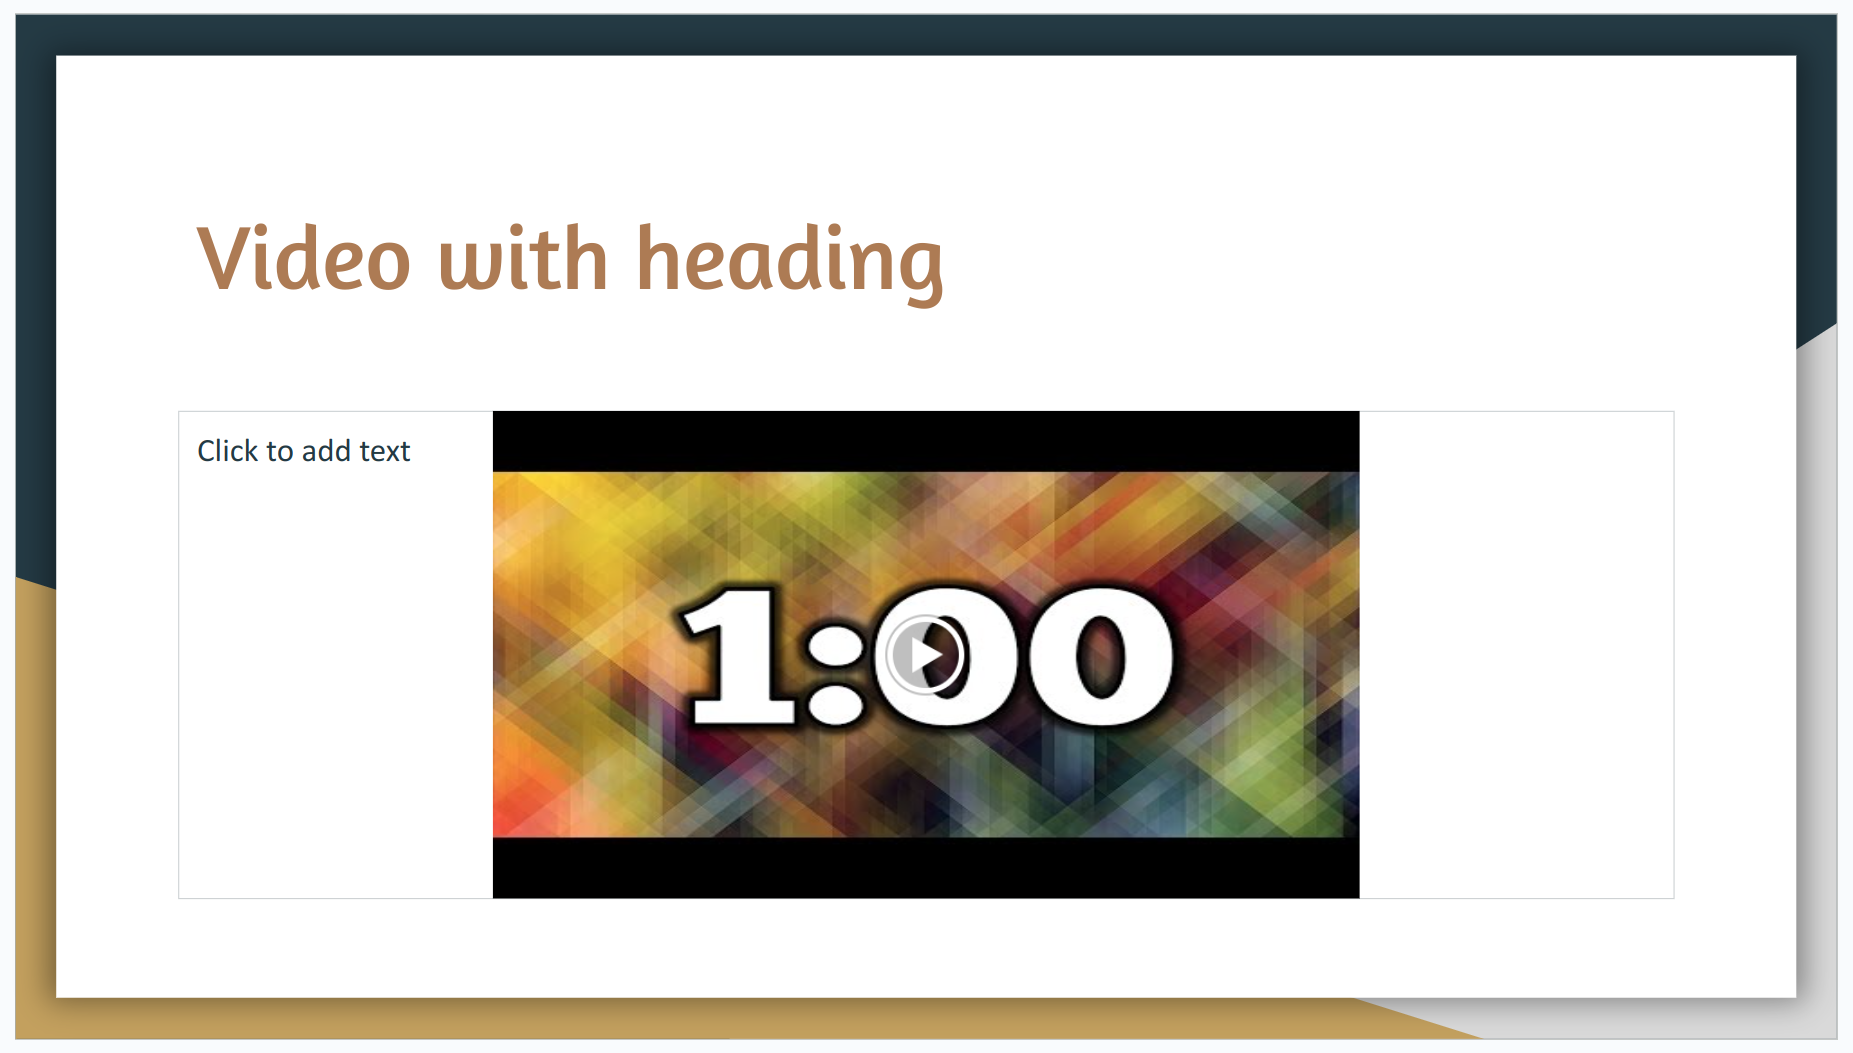
Fortunately, Slides Generator takes care of this problem by allowing up-front theme selection before generating slides. This allows the video to be correctly placed in any of Google Slides' built-in themes.

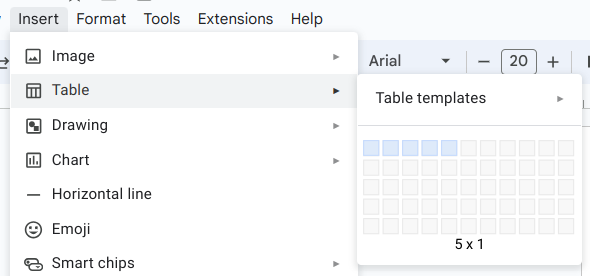
Slides Generator automatically transfers tables created in Google Docs to Google Slides and keep the text formatting in each cell.
To insert a table in Google Docs, click Insert > Table.
There are 2 ways to indicate in a Google Doc that a new slide should be added by Slides Generator:
Blank lines indicate the end of a slide. Any content after one or more blank lines will appear on a separate slide.
Setting a Header paragraph style will result in a new slide being created, even if there are blank lines before it.