How to setup a custom theme for use with Slides Generator
Jun 30, 2025
Table of contents
Please note that generating slides into a custom theme is only available with a Slides Generator Pro subscription.
We're going to show you how to setup your own custom theme so you can generate slides into a theme of your choice. In doing so, you can save heaps of time while keeping your presentation professional and in line with your branding.
Open a new Google Slides presentation. You can do this by typing slide.new in the URL search bar and press Enter (or return).
Your new presentation will have a Title slide pre-populated. Please do not delete this slide. We need at least one slide in the theme file to set the theme when generating your slides.
Then click Slide > Edit Theme.
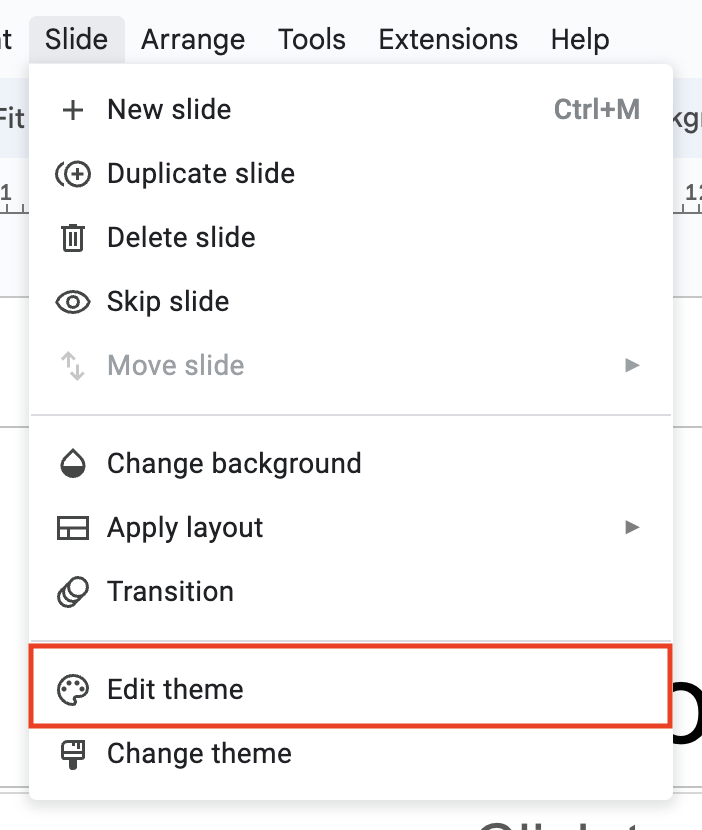
Slide Generator uses the following predefined Google Slides layouts when generating slides into a theme. These layouts will need to be present in your theme.
Click the master THEME layout.
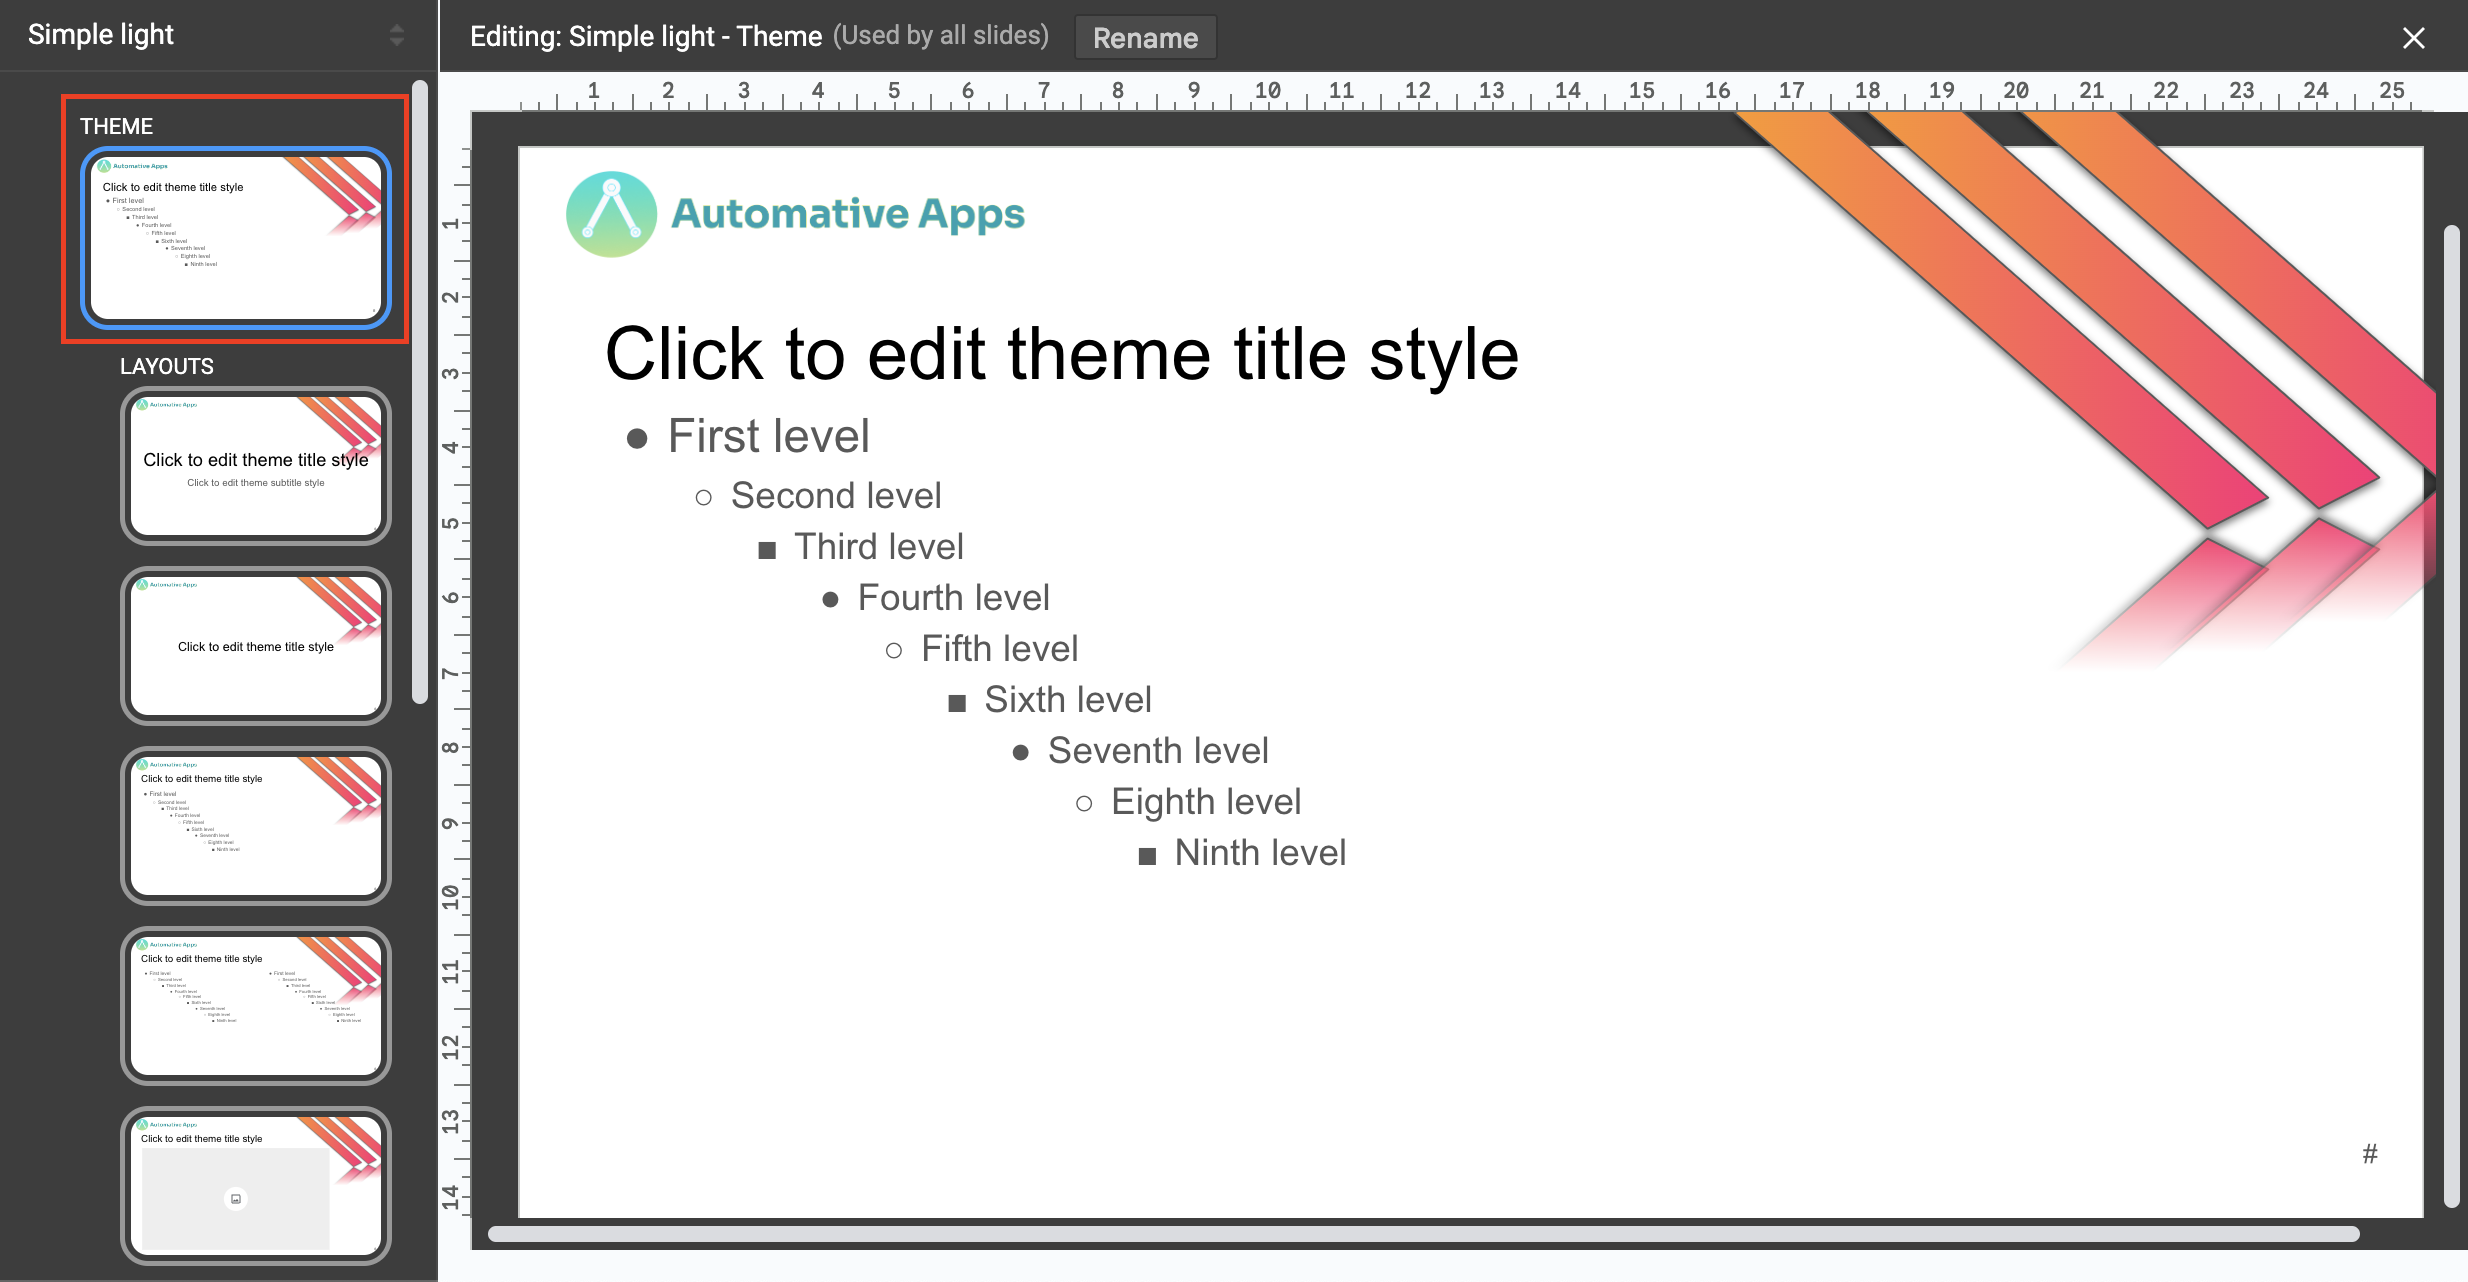
Changes you make to this layout apply to all layouts. You can add your logo or other elements that you want appearing in all slides.
There are 3 layouts that we need to specifically add image placeholders to so that images can be added when generating slides.
Select the Title only layout.
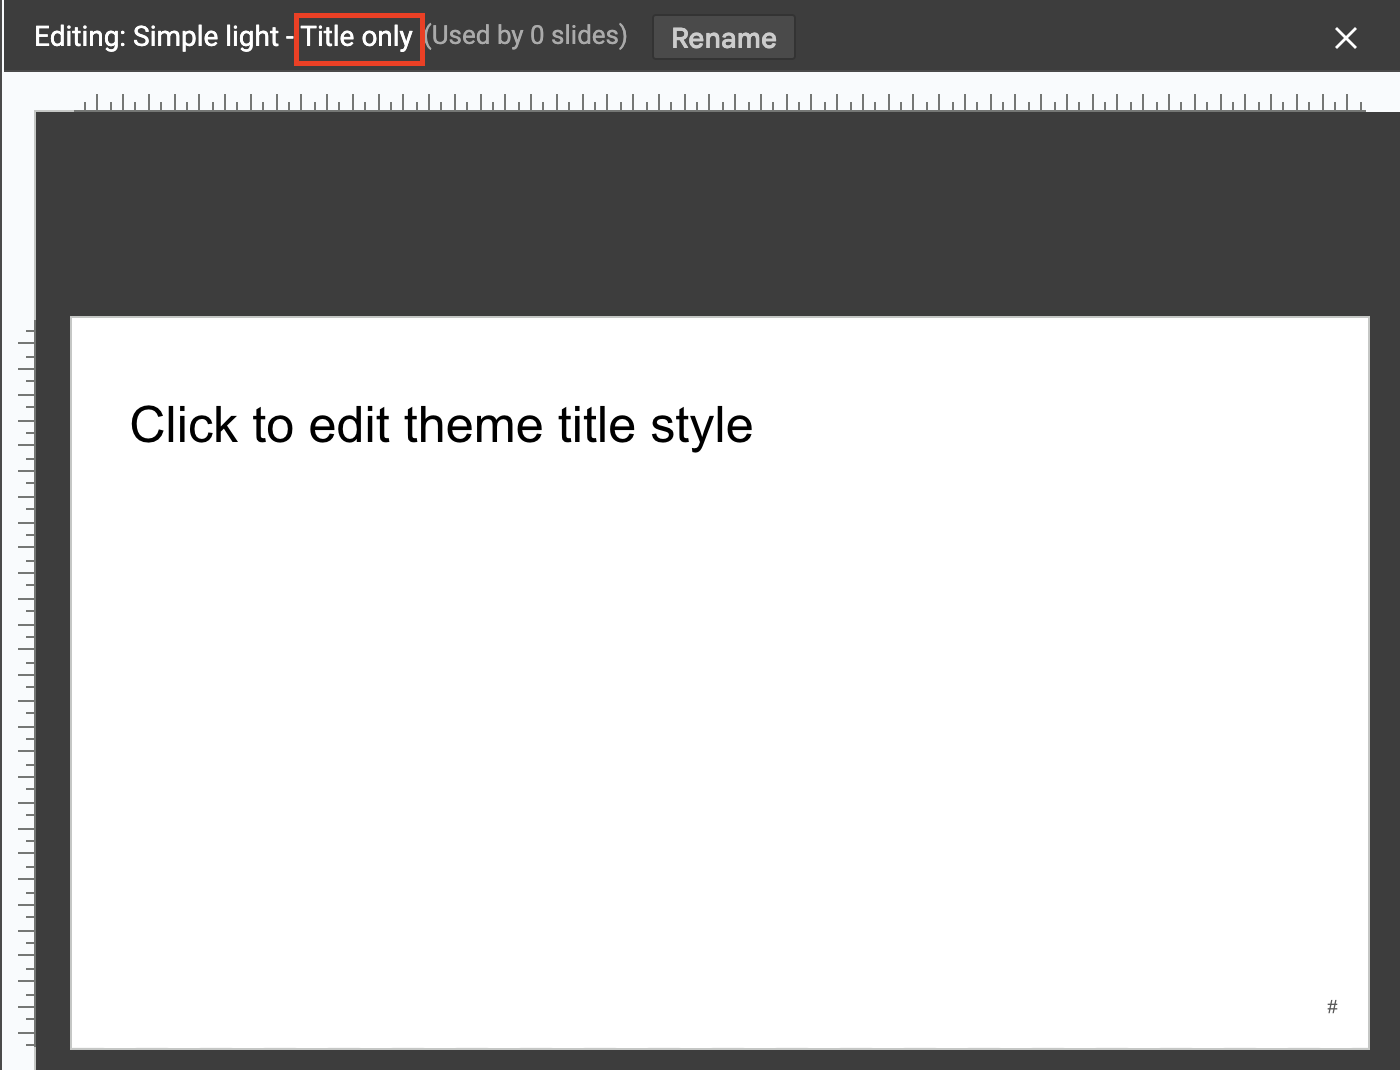
Click Insert > Placeholder > Image placeholder and select a shape. Add that in the Title only layout.
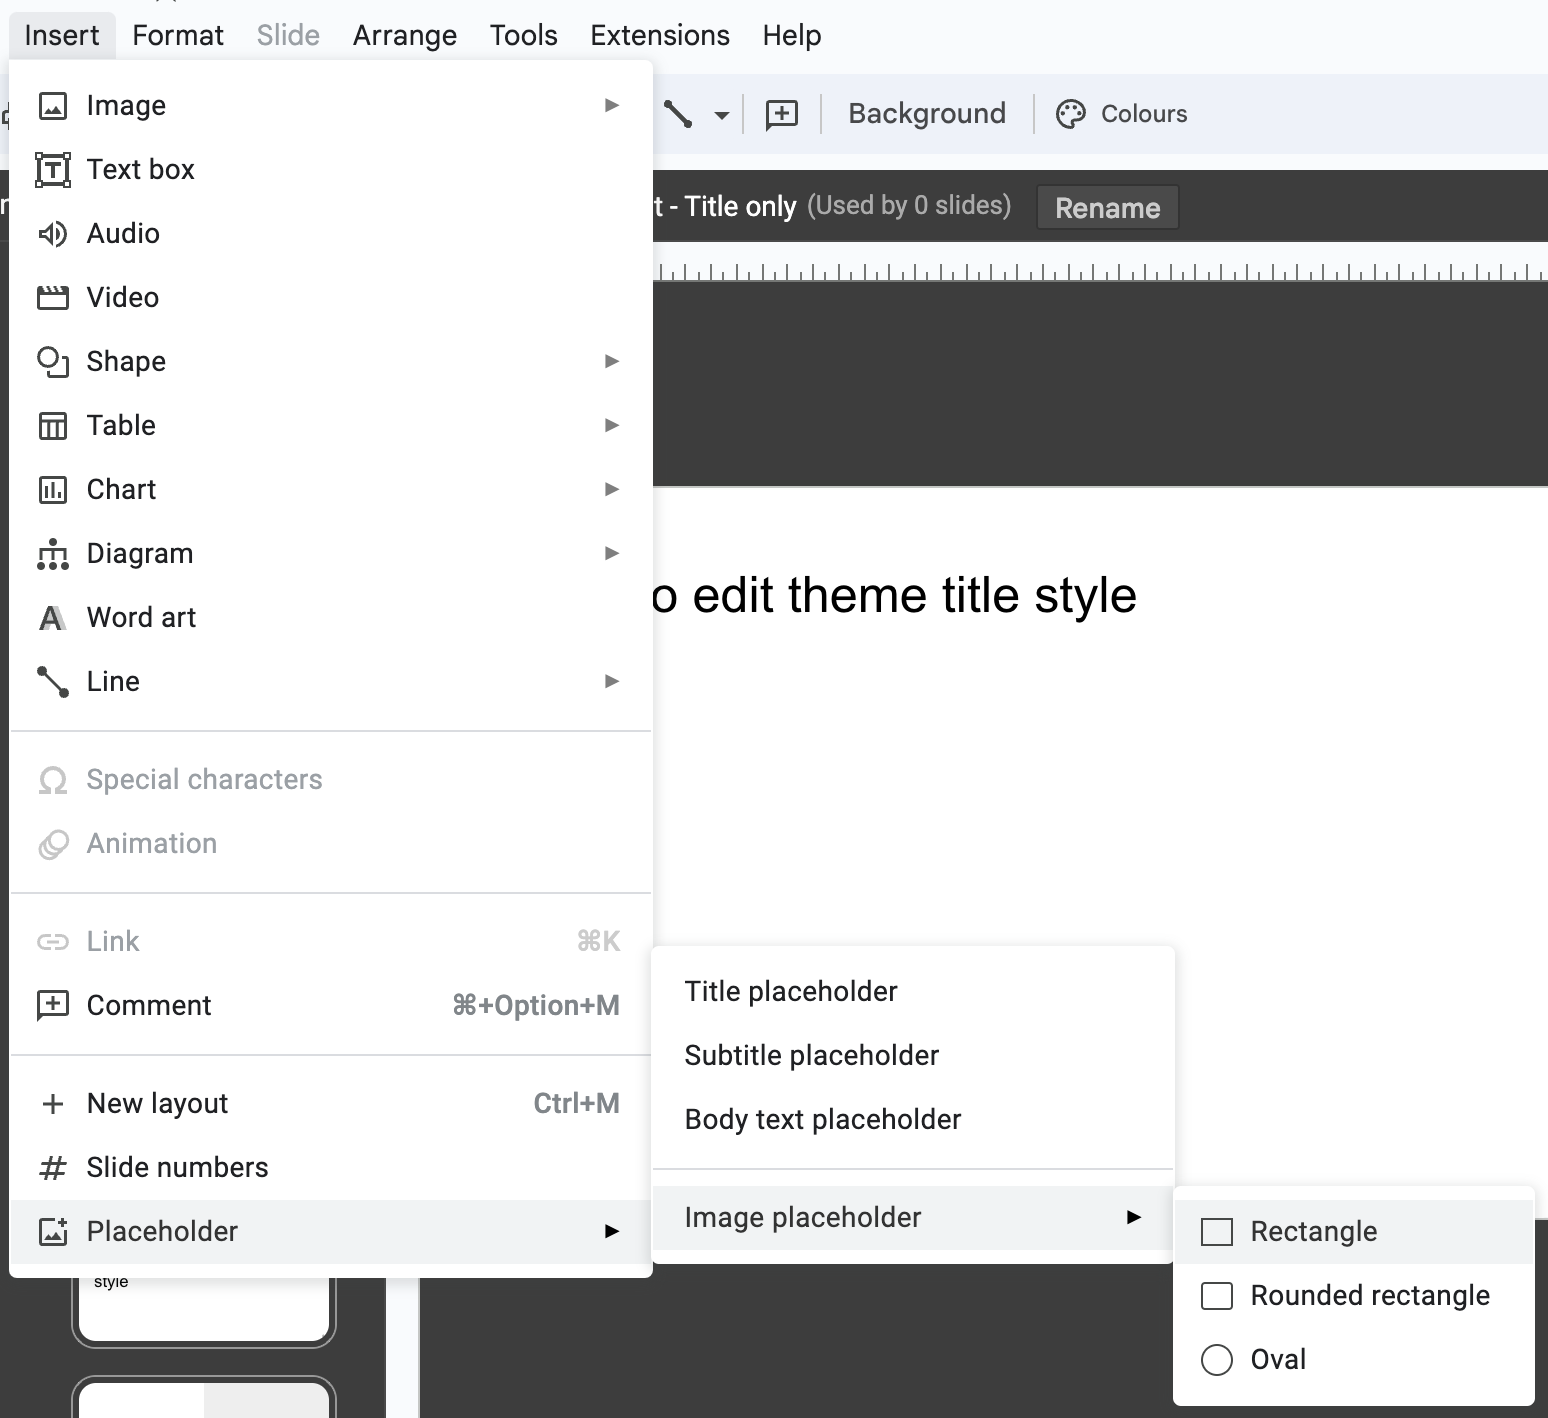
Do the same for the One-column text and Caption layouts.
Feel free to customize the other layouts, e.g. Title Slide, Section Header, etc. to your liking.
Once you're done customizing, set the Google Slides file name.

To reiterate, it is important that you do not delete the title slide as we use that to set the theme when generating your slides.
Copy the URL of the presentation file, which will look something like https://docs.google.com/presentation/d/15mS-xRXkQwkSdBPbPbdUAKEJJ_IkUSPUELtyukK9trg/edit
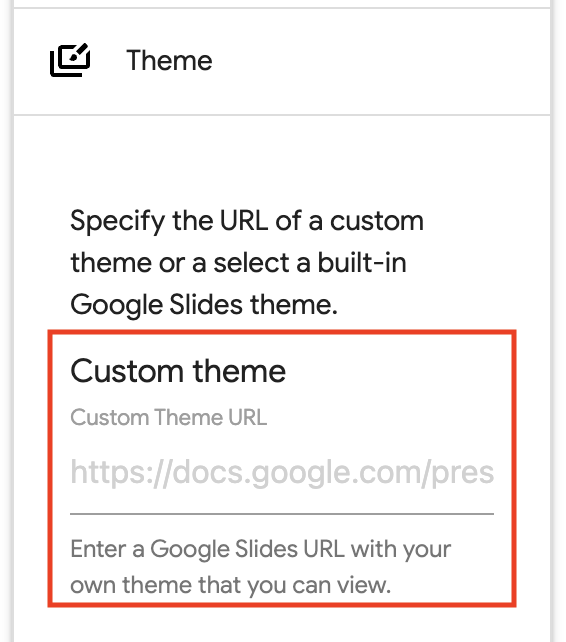
In Slides Generator, click Themes, then Custom, then Add Custom Theme and paste the URL into the Google Slides URL text field. Click Create.
